
I've tried any number of dedicated B&W conversion apps, and they all fall short of what I'm trying to accomplish, so I looked at apps that were more capable, such as Snapseed (which I use for all my colour work), and a new app called Filterstorm Neue. (I have had Filterstorm HD since it became available and it is very capable, but the UI never appealed to me. Filterstorm Neue's new UI solves this issue and it is a very powerful app.) So, with the above image in mind as my goal, here is the workflow for the two apps and the results:
Here is the original iPhone image:

First, we'll look at Filterstorm Neue and follow the flow. Filterstorm Neue's UI consists of menu choices that allow you to easily choose and execute functions.

My first step is the Edit / Tone Map function to bring out texture and "tooth" in the image so that I have a wider range of tones to use for B&W conversion.

Next, I used Levels to help darken down some of the midtones.

Next, a touch of sharpening to bring out more detail.

Now I convert to B&W, using 100% red, 0% green and blue.

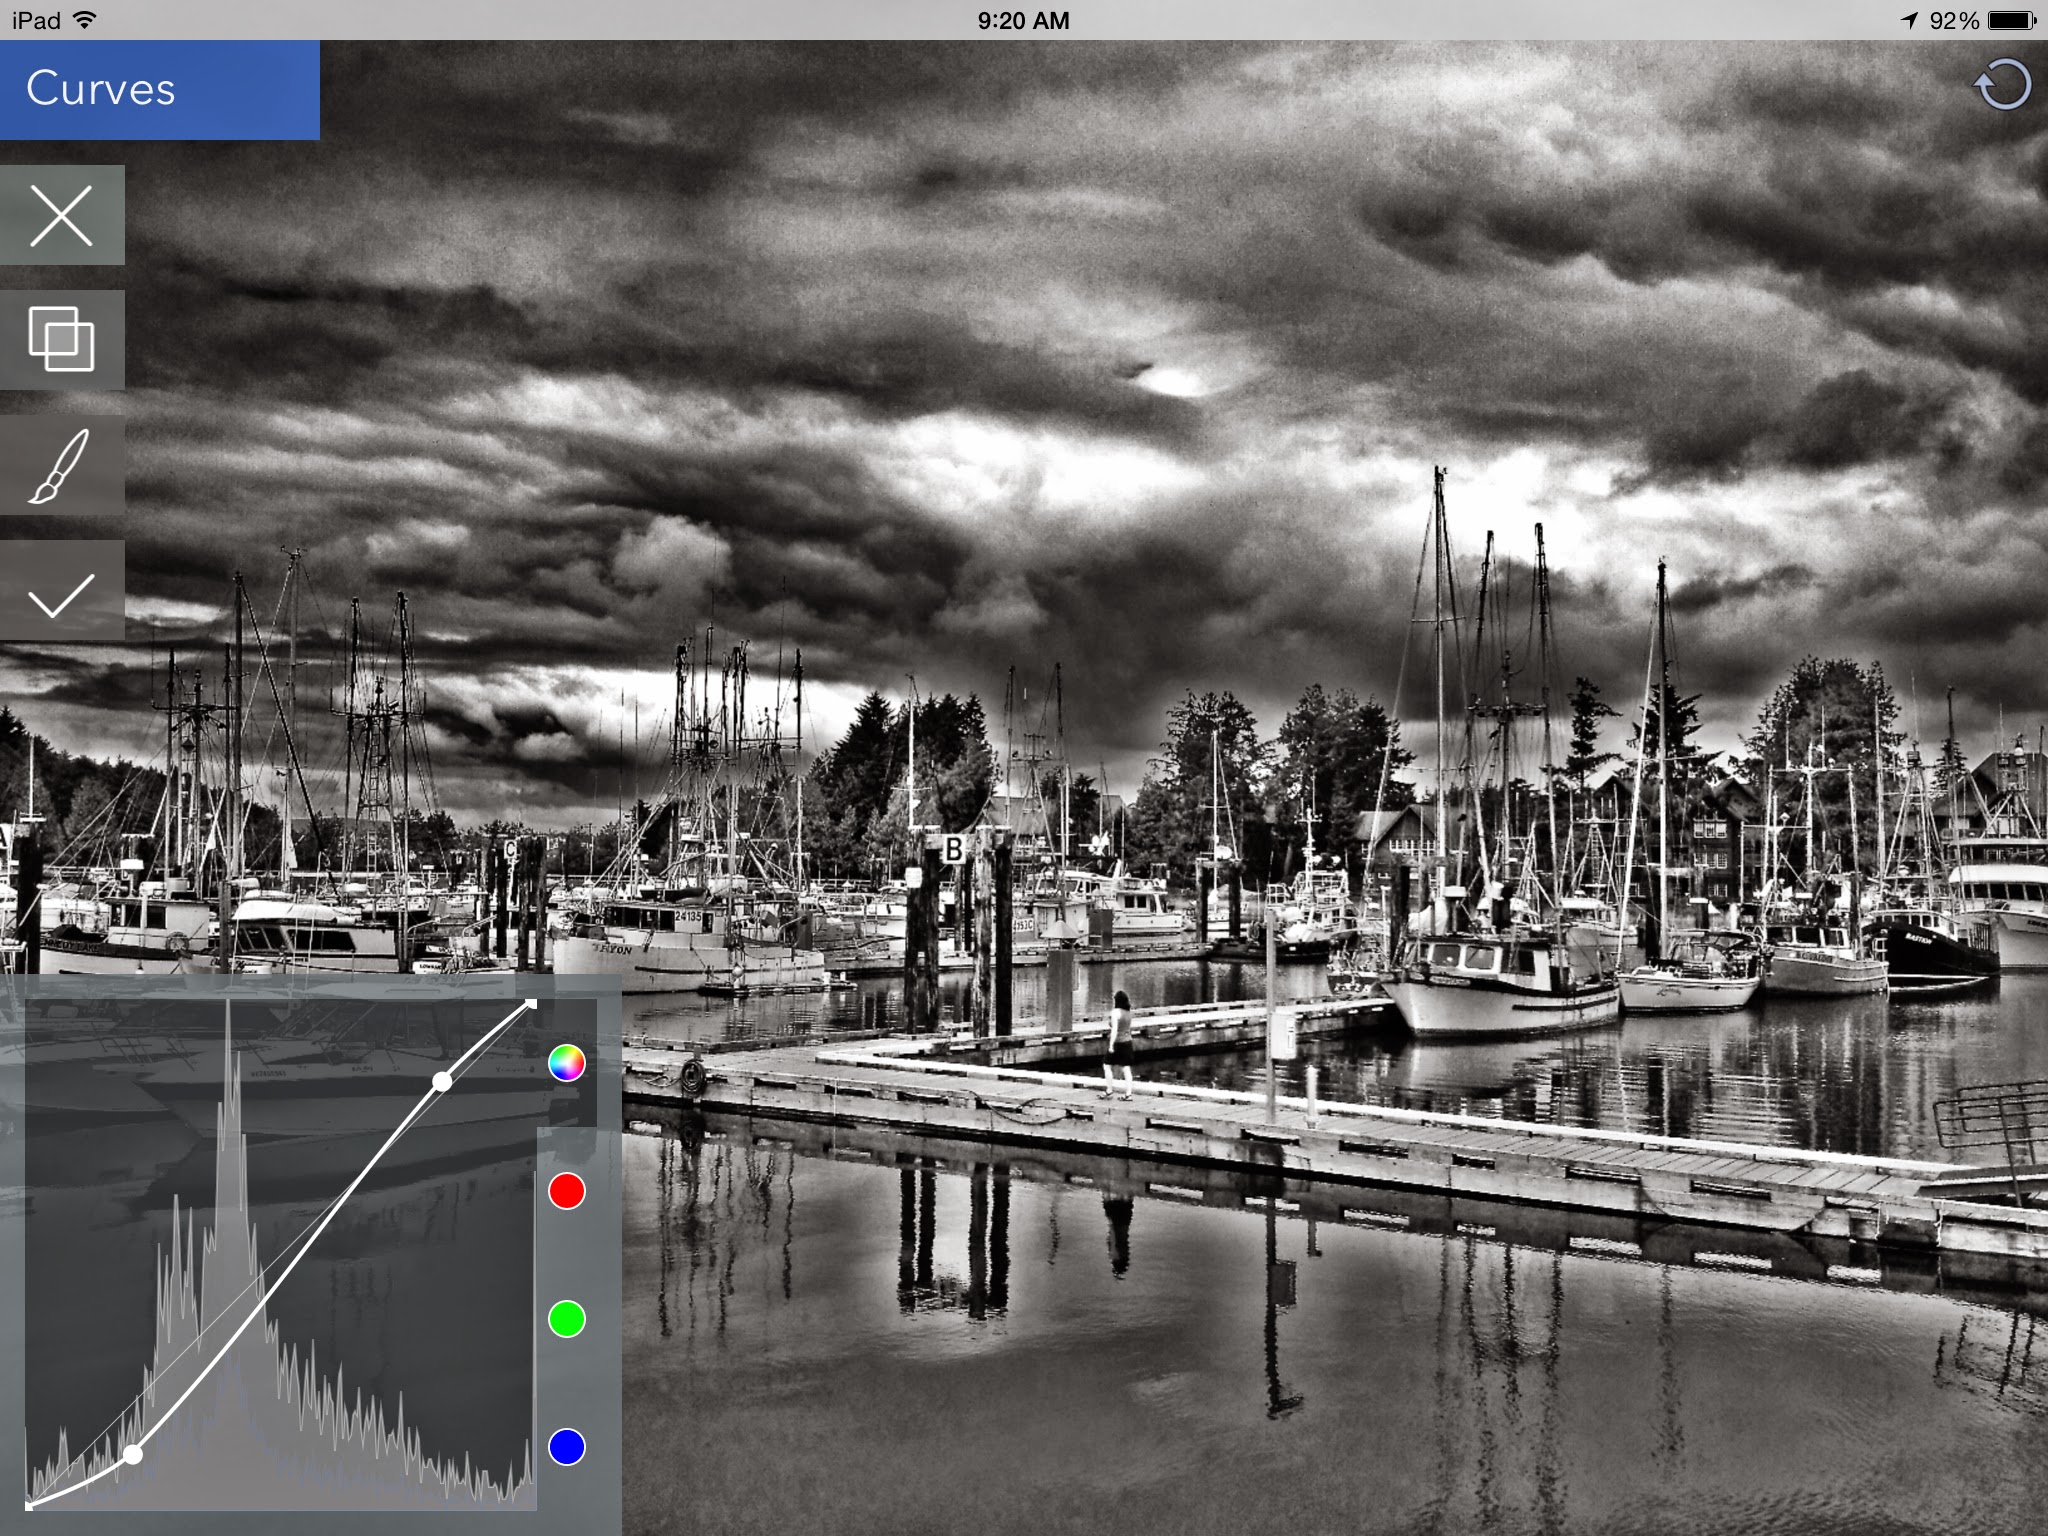
Curves are next to increase the drama a bit more.
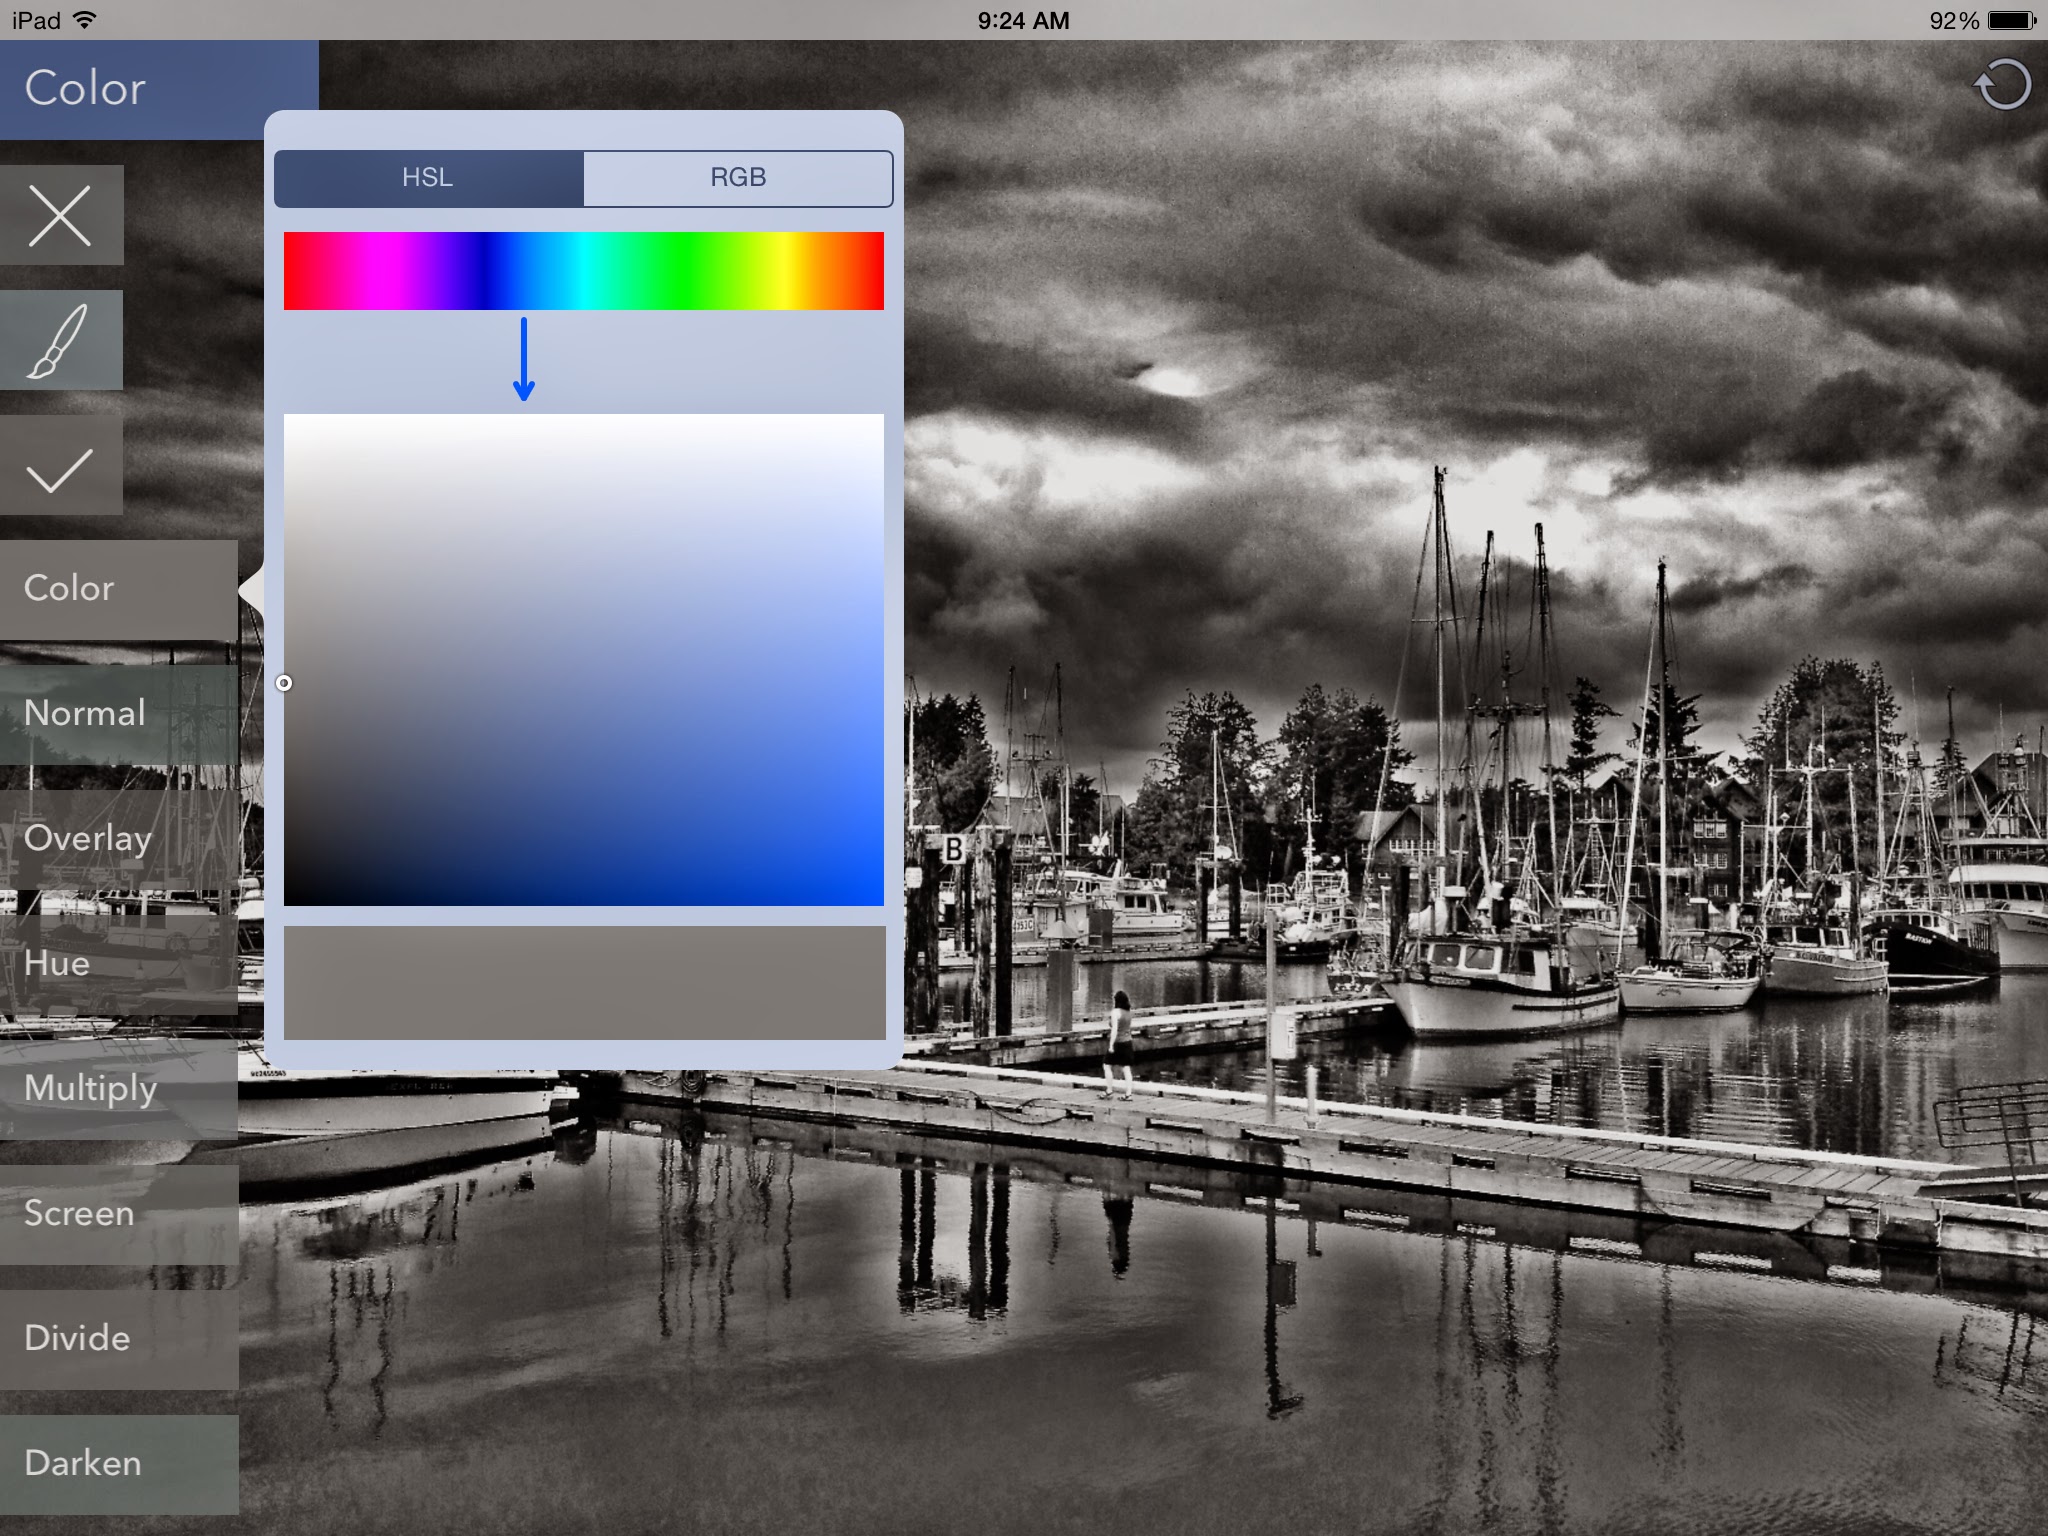
Finally, using the Color function, I chose a bluish-grey tone and used the Soft Light blend mode to try to recreate the selenium tone I like so much.
Here is the result.

In Snapseed, I first use the HDR Scape function at 100% to create a tone mapped image.

Next, I used the Ambiance function in Tune Image to bring out some extra toning to increase the palette before conversion.

Then, in the Details tab, I use Structure and Sharpen to increase detail.


Finally, in the Black & White tab, I chose the Dark preset and added a Red filter.

Here is the result:

This method allows me to retain the delicate detail that I was looking for, but again, does not allow me to match the selenium toning look. I am, however, much more pleased with the results than what I get with any of the other apps that tout "the best B&W conversion".
I think more experimentation is called for, and since these methods show potential, especially the Snapseed one, it may simply be a matter of persevering to get a closer result to what I can achieve so easily on my desktop.
EDIT 20140727
I just tried a new (to me) app for B&W processing called Monokrom, which has a really easy to use interface that allows you to specify a tone within your image to use as a base and then adjust contrast and colour tone. I used Snapseed as shown above to prepare the image and then Monokrom to do the conversion and toning. I like the results quite a bit. See what you think:

I think that Monokrom will allow me to get closer to my desktop results, so I'm very happy!
No comments:
Post a Comment